Video tutorials
Learn Bamboo Punch in under 10 minutes
Seven short walkthroughs, one task each. Start at Lesson 1 or jump to what you need.
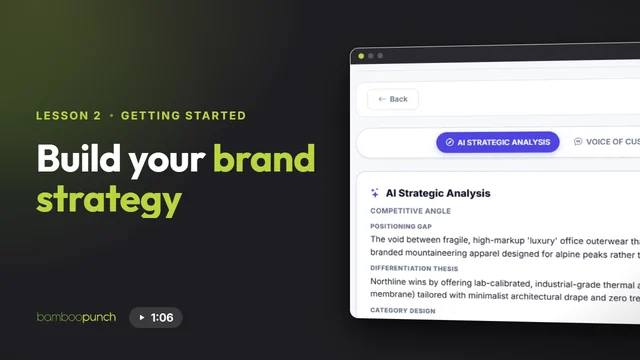
Lesson 1 of 7Getting started1:05
Set your visual identity
Choose your photo style, set a four-colour palette and run the style wizard.
Read the transcript
Set your visual identity
Visual Identity tells BambooPunch how your pictures should look. Open Brand Kit, then Visual Identity.
The first section is your photographic style. This is the base look for every image.
Click Change Style. You see a set of style cards.
Scroll and pick the card that fits your brand.
Your choice now shows here. Check that your style is listed.
Next are your brand colours. There are four swatches.
Click a swatch and type a new hex colour.
The palette saves on its own. You see Palette Updated.
If you are not sure what style you want, use the Photographic and Character Style Wizard. It is right here on the page.
The wizard has three sections on one page. Tick the options that fit your brand in each one.
At the bottom, click Save Visual Identity once. It saves all three sections.
From now on, new images follow this look.
Next, build your brand strategy.
Build your brand strategy
Your Strategic Foundation is the plan behind every campaign. Open Brand Kit, then Brand Strategy.
There are three ways to build it: Automatic, Guided Wizard, or Paste My Strategy.
Automatic is the fastest. BambooPunch builds it from your Brand Profile. It takes about a minute.
You get a Competitive Angle, a Growth Thesis and a North-Star Metric.
Then recommendations and risks.
The card has four actions. Generate Campaign uses this strategy to plan a campaign.
Edit lets you change any part, in a form or as raw data.
Regenerate asks BambooPunch to build a fresh version.
Print or PDF is in the status bar of the page. It makes a copy you can share.
If you want to guide it, use the Guided Wizard. It is offered when a brand has no foundation yet.
There are five fields. The goal and the customer are required. Click Build My Strategy.
If you already have a strategy, paste it and click Import and Structure. BambooPunch organises it into the same format.
Now it looks like any other foundation.
Next, learn who your customer is.
Know your customer
Voice of Customer is where you record what your customers struggle with.
If you have reviews, paste them here.
Click Extract Pains. BambooPunch finds the problems customers mention.
You get a set of pains and customer personas.
No reviews yet? Click Estimate Pains with AI.
The result is marked as an AI hypothesis. It is a starting guess, not proof. Check it against real feedback.
Edit opens all your personas at once, so you can shape each one. The anchor pain is required. Add quotes, the trigger moment, and the change your customer wants.
You can add more personas. Nothing is kept until you click Save Changes.
The Angle Matrix turns this into content ideas.
Click Generate Matrix.
Each row pairs a persona with a pain and a stage of awareness. That is one angle for a post.
Edit any row, or add your own. Click Save Changes to keep it.
Your strategy is ready. Next, turn it into posts.
Turn an idea into posts
You do not need a photo to start. If you have an idea, you can post from text. Click "Post from Text".
First, an optional angle. This is the shape of the story. Pick one, or leave it empty.
We will use The Mistake Corrector. It fits a tip that fixes a common error.
Now type your idea. One line is enough.
You can choose a layout for the image later. Leave it for now.
Choose a mode. AI Mode writes the captions for you. We start there.
Click Generate Captions.
BambooPunch writes a caption for each platform.
You get one caption per platform. See how LinkedIn is longer and Bluesky is short. Each fits where it will be read.
Edit anything you like. It saves by itself.
Now the second route. You already know what you want to say, and you want to write the captions yourself.
Switch to NO AI, Direct Entry.
The button changes to Save Post, Direct. Click it and the post is saved without AI captions.
Write your own caption in each box. Edits save as you type.
If you change your mind in the dialog, use Discard.
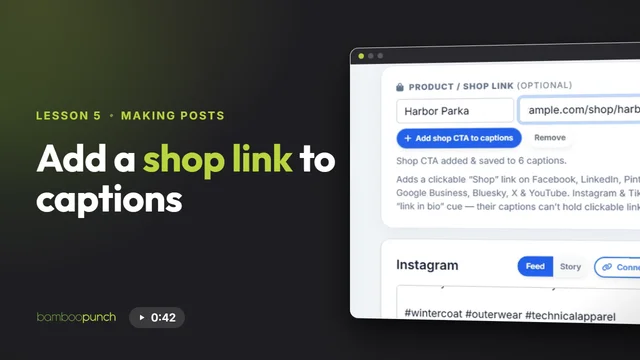
Add a shop link to captions
You want people to buy. Add a shop link so your captions point there. Find Product Shop Link on the review page.
Enter the product name.
Paste the web address of the product page. Clear the box first, because it starts with https already.
Click Add shop CTA to captions.
BambooPunch adds a short call to action to your captions.
On Facebook, the link goes right in the text.
Instagram does not make caption links clickable, so the caption points people to the link in your bio.
You can change the wording like any other caption text.
Changed your mind? Click Remove and the call to action is taken out.
Add it back and approve as usual.
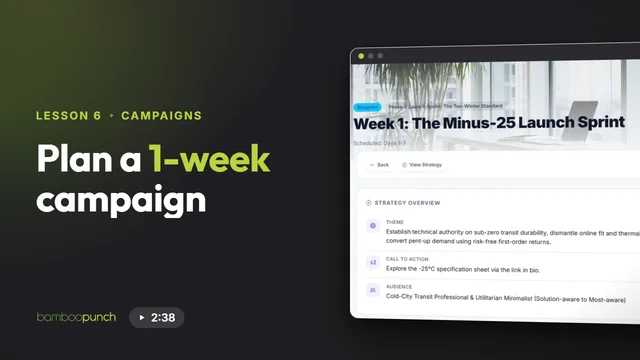
Plan a 1-week campaign
A campaign is a plan for a batch of posts. In this video you will draft one, read the strategy behind it, and tweak it before any post is made.
This page lists every campaign you have. The tabs filter by type and by stage. A new plan will land under "Blueprints Ready".
Start with a one week sprint. It is the fastest way to see how the plan works. Drafting costs no credits.
If you already have post history, BambooPunch shows what worked before. Read it, then continue. You can also skip it.
The Campaign Architect asks a few questions. First, give the campaign a name you will recognise later.
Pick one goal. It shapes the hook and the call to action in every post. Choose the result you want most this week.
Add context in plain words. Dates, offers, news. The more specific you are, the less generic the posts.
Choose the post types you want in the mix. All three start on. Video posts need a clip added by hand later, so untick video for now.
These are the platforms the posts will be written for. They come from your Settings.
Now click "Draft Blueprint". BambooPunch confirms it has started.
The plan takes a few minutes. You can leave this page.
When it says "Blueprint Ready", click the row to open it up, then open the blueprint. This is a draft. Nothing is posted and no credits are spent yet.
Click "View Strategy" to read the thinking behind the plan. This is the strategy card and the content plan, in one place.
Read it like a brief. If you work with a client or a partner, "Print / PDF" gives you a copy to share.
Back in the blueprint, "Edit Strategy" lets you change the name, the goal, the story and the call to action. Change anything that does not sound like you.
"Edit Schedule" is a note about timing, such as "Launch week, mornings". It is a label for you and does not move any post dates. You set real dates when you approve each post.
Each post idea can be opened. Click "Expand Details".
Here is the writing brief for that post. You can set the opening line, the main argument, the style, and words the post must never use.
The visual concept describes the picture. Change it if the image should show something specific.
You can add up to three reference images to guide the look.
If you have your own photo for this post, use "Replace with My Image". After you replace it, "Revert to AI Generation" appears so you can undo it.
Each idea has a type, and a look. Photography is the standard look.
When the plan looks right, the next step is to generate. That is the next video. Until then, nothing is spent.
Get answers from the AI Copilot
Stuck? Click the green robot button at the bottom right.
This is the AI Assistant. It knows how BambooPunch works.
Pick a topic to start.
Choose Credits and Subscription Upgrades, then Credit Cost Table.
The assistant explains in plain words.
Use Back to return to all topics.
Or type your own question and send it.
Answers appear in the panel.
For written guides, click Help and Learn in the sidebar. It opens the guides on our website.
That is the end of the getting started series. Now make your first post.
Browse by topic
Pick any lesson. Each one stands on its own.
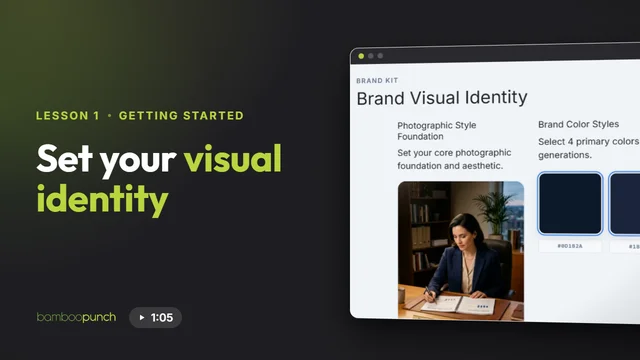 Watched
Lesson 1Getting started1:05
Set your visual identity
Choose your photo style, set a four-colour palette and run the style wizard.
Watched
Lesson 2Getting started1:06
Build your brand strategy
Create your brand strategy three ways, then edit, regenerate or print it.
Watched
Lesson 1Getting started1:05
Set your visual identity
Choose your photo style, set a four-colour palette and run the style wizard.
Watched
Lesson 2Getting started1:06
Build your brand strategy
Create your brand strategy three ways, then edit, regenerate or print it.
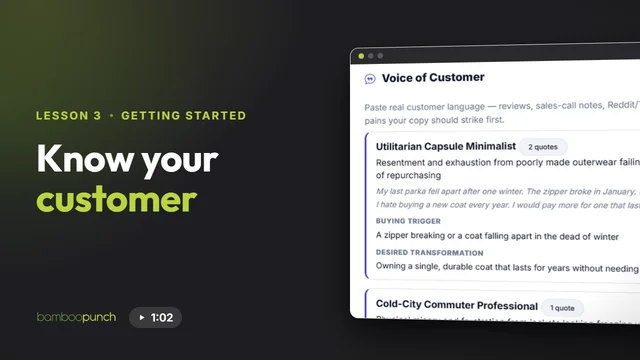 Watched
Lesson 3Getting started1:02
Know your customer
Capture customer pains, edit your personas and generate an Angle Matrix.
Watched
Lesson 3Getting started1:02
Know your customer
Capture customer pains, edit your personas and generate an Angle Matrix.
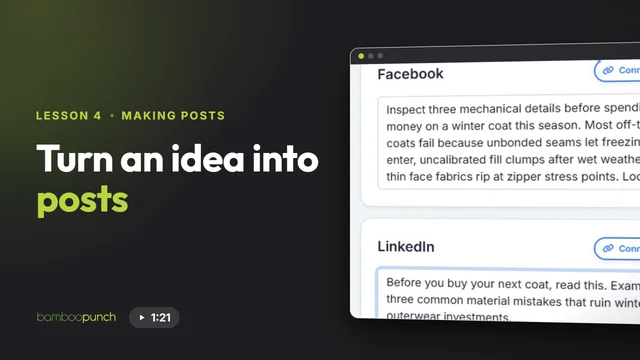 Watched
Lesson 4Making posts1:21
Turn an idea into posts
Turn a written idea into captions for each platform, with AI or in your own words.
Watched
Lesson 4Making posts1:21
Turn an idea into posts
Turn a written idea into captions for each platform, with AI or in your own words.
 Watched
Lesson 5Making posts0:42
Add a shop link to captions
Add a product name and link so a shop call to action appears in your captions.
Watched
Lesson 5Making posts0:42
Add a shop link to captions
Add a product name and link so a shop call to action appears in your captions.
 Watched
Lesson 6Campaigns2:38
Plan a 1-week campaign
Build a one-week campaign plan, read its strategy report and edit it before anything is made.
Watched
Lesson 6Campaigns2:38
Plan a 1-week campaign
Build a one-week campaign plan, read its strategy report and edit it before anything is made.
 Watched
Lesson 7Getting help0:43
Get answers from the AI Copilot
Open the AI Copilot, pick a topic or ask a question, and find the written guides.
Watched
Lesson 7Getting help0:43
Get answers from the AI Copilot
Open the AI Copilot, pick a topic or ask a question, and find the written guides.
Ready to try it on your own brand?
Everything in these lessons works on your own brand, photos and products.